


Hey there, fellow cooking enthusiasts! As a kitchen cooking tool supplier, I get asked a ton of questions about how to keep our tools in tip - top shape. One of the most common queries is about cleaning a grill pan. You know, that trusty pan that gives your steaks those beautiful sear marks and makes your veggies taste like they've been cooked over an open flame. Well, today, I'm gonna share some tried - and - true methods to clean your grill pan effectively.
Why Cleaning Your Grill Pan is a Big Deal
First off, let's talk about why it's so important to clean your grill pan regularly. A dirty grill pan can affect the taste of your food. All that built - up grease and burnt bits can transfer flavors you don't want into your next meal. Plus, it's a breeding ground for bacteria. Nobody wants to eat food that's been cooked on a bacteria - infested surface! And if you don't clean it properly, the non - stick coating (if it has one) can get damaged, which shortens the lifespan of your pan.
What You'll Need
Before we jump into the cleaning process, let's gather the necessary supplies. You'll need some dish soap, a sponge or a soft - bristle brush, baking soda, white vinegar, and maybe some aluminum foil. Oh, and if you're dealing with really stubborn stains, a plastic scraper can come in handy.
Step - by - Step Cleaning Process
Step 1: Let It Cool Down
This might seem obvious, but you'd be surprised how many people try to clean a hot grill pan. Not only can you burn yourself, but the sudden change in temperature can warp the pan. So, after you're done cooking, just let the pan sit on the stovetop or a heat - resistant surface until it's completely cool.
Step 2: Remove Loose Debris
Once the pan is cool, use a paper towel or a dry cloth to wipe off any loose food particles. You can also use a plastic scraper to gently scrape away bigger chunks of burnt food. Be careful not to scratch the pan, especially if it has a non - stick coating.
Step 3: Soak the Pan
Fill your sink or a large basin with warm water and add a few drops of dish soap. Submerge the grill pan in the soapy water and let it soak for about 15 - 20 minutes. This will help loosen up the grease and make it easier to clean.
Step 4: Scrub the Pan
After soaking, take a sponge or a soft - bristle brush and start scrubbing the pan. Pay extra attention to the grill ridges, as that's where most of the food and grease get trapped. If the stains are still stubborn, you can make a paste out of baking soda and water. Apply the paste to the stained areas and let it sit for a few minutes before scrubbing again. Baking soda is a natural abrasive that can break down tough stains without scratching the pan.
Step 5: Use Vinegar for Tough Stains
If the baking soda paste doesn't do the trick, it's time to bring out the white vinegar. Pour some vinegar into a spray bottle and spritz it onto the stained areas. Let the vinegar sit for a few minutes. The acid in the vinegar will help dissolve the grease and stains. Then, scrub the pan again with your sponge or brush.
Step 6: Rinse and Dry
Once you're satisfied with the cleanliness of the pan, rinse it thoroughly under warm water to remove all the soap, baking soda, and vinegar. Make sure there are no residues left. Then, dry the pan with a clean towel or let it air dry. Leaving the pan wet can cause it to rust, especially if it's made of metal.
Special Tips for Different Types of Grill Pans
Non - Stick Grill Pans
For non - stick grill pans, be extra gentle. Avoid using metal utensils or abrasive scrubbers, as they can scratch the non - stick coating. Stick to soft sponges and plastic scrapers. If you notice that the non - stick coating is starting to wear off, it might be time to replace the pan.
Cast Iron Grill Pans
Cast iron grill pans are a bit different. After cleaning, you need to season them to prevent rusting. To season a cast iron pan, dry it completely on the stovetop over low heat. Then, rub a thin layer of vegetable oil or shortening all over the pan, including the handle. Wipe off any excess oil with a paper towel. Let the pan cool down, and it's ready for storage.
Maintaining Your Grill Pan
To make the cleaning process easier in the future, there are a few things you can do to maintain your grill pan. Before cooking, lightly oil the pan to prevent food from sticking. After each use, wipe the pan with a paper towel while it's still warm to remove as much grease as possible. And if you're not going to use the pan for a while, store it in a dry place.
Other Great Kitchen Tools
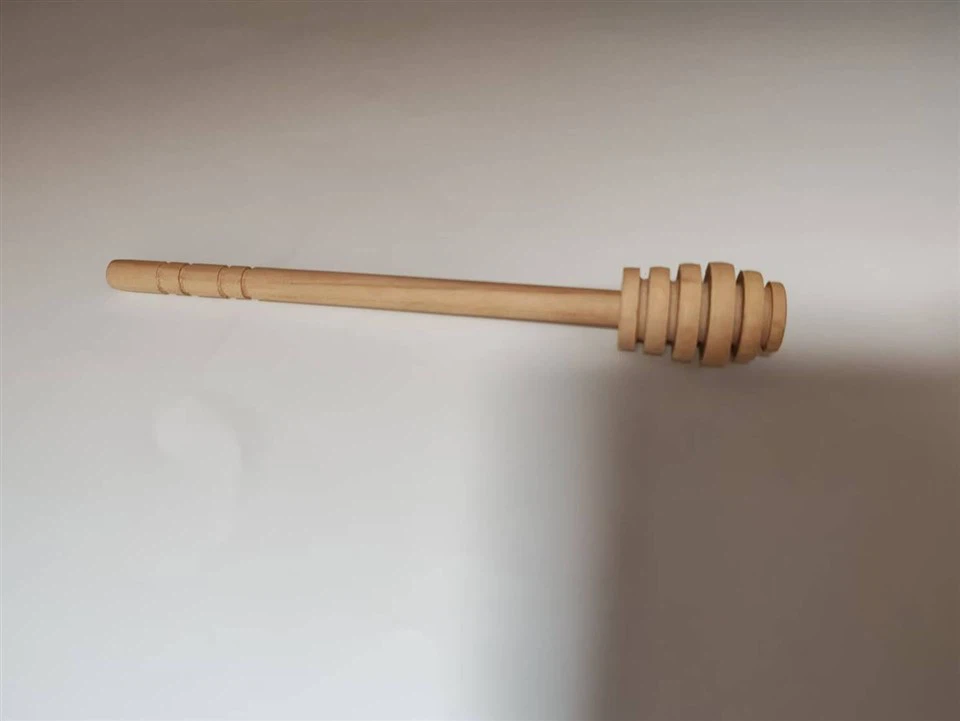
As a kitchen cooking tool supplier, I want to mention some other awesome tools that can make your cooking experience even better. Check out our Wooden Honey Stirrer. It's perfect for getting every last drop of honey out of the jar without making a mess. And for those of you who love to cook and don't want to make a mess on your stovetop, our Acacia Wood Spoon Rest is a must - have. It's not only functional but also adds a touch of style to your kitchen. And if you're a salad lover, our Hand Salad Servers are just the thing to make serving salads a breeze.

Wrapping Up
Cleaning a grill pan doesn't have to be a hassle. By following these simple steps and using the right supplies, you can keep your grill pan clean and in great condition for years to come. Whether you're a seasoned chef or just starting out in the kitchen, a clean grill pan is essential for delicious and healthy cooking.
If you're interested in any of our kitchen cooking tools or have any questions about cleaning or using them, feel free to reach out for a procurement discussion. We're always here to help you make the most of your kitchen experience.
References
- "The Complete Guide to Cleaning Kitchen Utensils", Home Cooking Magazine, 2022
- "How to Care for Your Grill Pan", Kitchenware Experts Journal, 2023